Crispy Homemade Chicken Nuggets
These crispy homemade chicken nuggets are golden, juicy, and made with real ingredients your whole family will love. Way better than the freezer bag version!

The Homemade Chicken Nugget That Actually Beats the Drive-Through
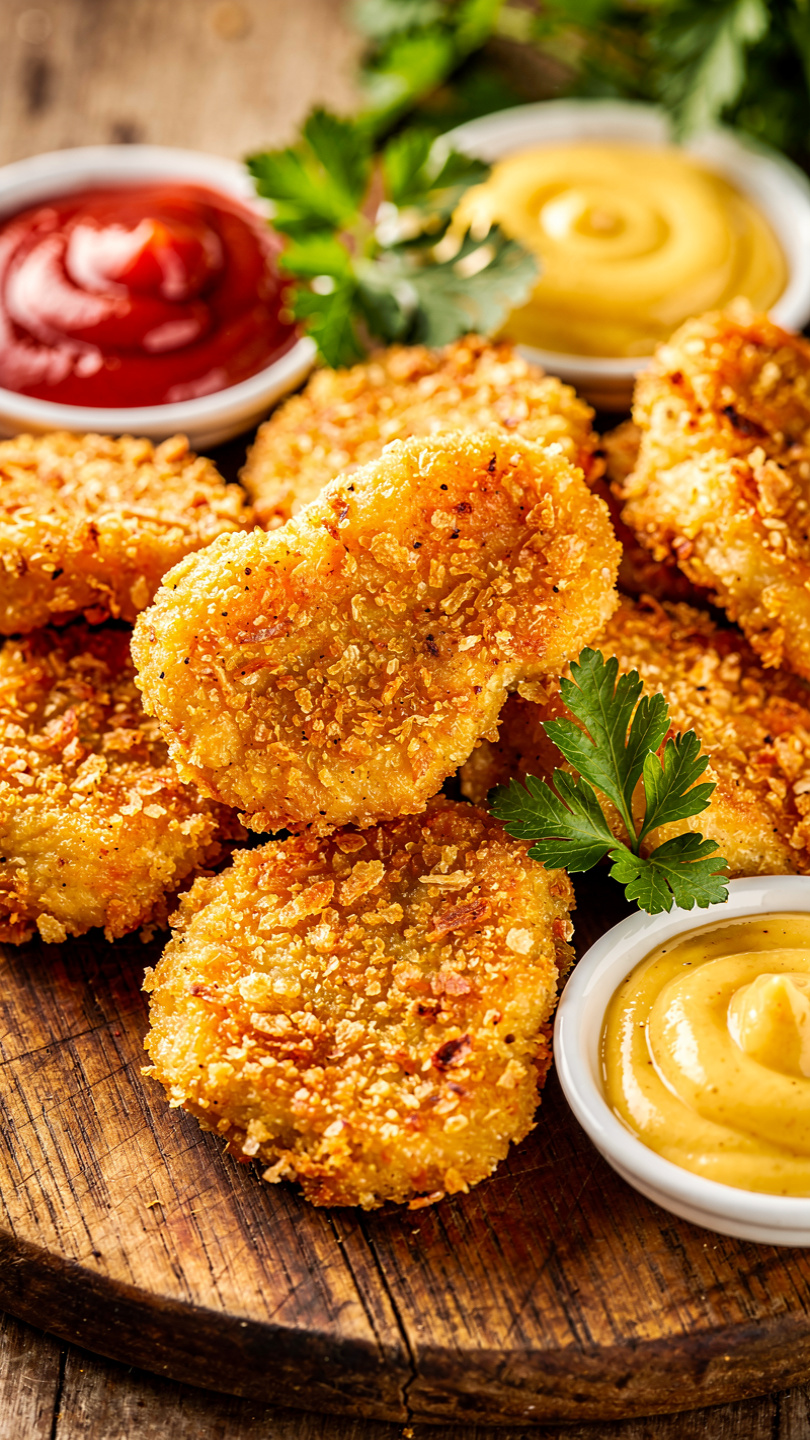
Let's be honest: the drive-through version has a certain nostalgic pull. But once you make a batch of these crispy, golden, real-chicken homemade nuggets, there is really no going back. These are not the rubbery, mystery-meat kind. These are thick, juicy pieces of actual chicken breast, wrapped in a seasoned, parmesan-spiked breadcrumb crust that shatters when you bite into it.
And the best part? They come together in about 35 minutes, and the kids (and adults) absolutely lose their minds over them.
Why Homemade Nuggets Are Worth the Effort
Store-bought nuggets are convenient, but they are loaded with fillers, preservatives, and way more sodium than you probably want. When you make them at home, you control every single ingredient. You know exactly what cut of chicken is inside, how much salt went in, and whether the oil is fresh.
This recipe works two ways: baked for an easier, lighter weeknight option, or pan-fried for that deep, crunchy crust that tastes like a proper restaurant order. Both methods deliver, and both are explained in the recipe card below.
Chef's Tip: The single biggest mistake people make with homemade nuggets is skipping the "pat dry" step. Moisture on the surface of the chicken is the enemy of a crispy coating. Take 30 extra seconds with paper towels and you will notice the difference immediately.
The Secret Is in the Breading Station
A proper three-bowl setup is non-negotiable here. Flour first (it gives the egg something to grip), egg second (the glue), and a seasoned breadcrumb-parmesan mixture last. Panko breadcrumbs are strongly recommended over regular breadcrumbs. They are coarser, lighter, and create that airy, crunchy texture that makes these nuggets genuinely special.
The seasoning blend of garlic powder, onion powder, and smoked paprika might seem simple, but it creates a savory, slightly smoky crust that works with virtually any dipping sauce, from honey mustard to sriracha mayo.
Having the right kitchen tools makes the breading process much smoother and the results more consistent. A wire rack, a reliable instant-read thermometer, and a quality baking sheet are the three things that will make the biggest difference here:
Tools & Ingredients We Recommend


Baked vs. Pan-Fried: Which Should You Choose?
Both methods are great. Here is a quick breakdown to help you decide:
- Baked: Less hands-on, less oil, slightly lighter. Great for a quick weeknight dinner.
- Pan-fried: Deeper golden color, crispier crust, richer flavor. Worth it when you have a few extra minutes.
For pan-frying, the most important rule is do not crowd the pan. Cook in batches and let each nugget make full contact with the hot oil. Crowding drops the oil temperature and leads to steaming instead of frying, which means a soggy crust.
What to Serve With Homemade Chicken Nuggets
These are incredibly versatile. They work as a family dinner alongside roasted sweet potatoes and a simple green salad, or as a party appetizer with a spread of dipping sauces. A few favorites:
- Classic honey mustard
- Spicy sriracha mayo
- Ranch dressing
- Barbecue sauce
- Sweet chili sauce
Ready to make the best chicken nuggets of your life? Here is everything you need:
Crispy Homemade Chicken Nuggets
These crispy homemade chicken nuggets are golden, juicy, and made with real ingredients your whole family will love. Way better than the freezer bag version!
Ingredients
- 1 1/2 lb boneless skinless chicken breasts, cut into 1.5-inch chunks
- 1/2 cup all-purpose flour
- 2 large eggs, beaten
- 1 cup plain breadcrumbs, panko recommended for extra crunch
- 1/4 cup grated parmesan cheese, finely grated
- 1 tsp garlic powder
- 1/2 tsp onion powder
- 1/2 tsp smoked paprika
- 1 tsp salt, divided
- 1/2 tsp black pepper, freshly ground
- 3 tbsp olive oil or neutral cooking oil, for pan-frying or drizzling before baking
Instruction
Preheat your oven to 425 degrees F (220 degrees C) and line a large baking sheet with parchment paper. If pan-frying, skip the oven step and heat oil in a skillet over medium-high heat.
Cut the chicken breasts into roughly 1.5-inch bite-sized pieces. Pat them completely dry with paper towels. This step is critical for a crispy crust.
Set up a three-station breading line: flour seasoned with 0.5 tsp salt and pepper in the first bowl, beaten eggs in the second bowl, and breadcrumbs mixed with parmesan, garlic powder, onion powder, smoked paprika, and the remaining 0.5 tsp salt in the third bowl.
Working in batches, dredge each chicken piece in the seasoned flour and shake off the excess. Dip into the beaten egg, letting any extra drip off. Press firmly into the breadcrumb mixture to coat all sides evenly.
For baking: Place coated nuggets on the prepared baking sheet. Drizzle or lightly spray with oil. Bake for 12 to 15 minutes, flipping once halfway through, until golden brown and cooked through (internal temperature of 165 degrees F / 74 degrees C).
For pan-frying: Heat 3 tablespoons of oil in a large skillet over medium-high heat. Fry nuggets in batches for 3 to 4 minutes per side until deeply golden and cooked through. Do not crowd the pan.
Transfer to a wire rack or paper-towel-lined plate to drain. Serve immediately with your favorite dipping sauces.
Equipment
- Large baking sheet
- Parchment paper
- 3 shallow bowls for breading
- Wire cooling rack
- Instant-read meat thermometer
- Large skillet (for pan-frying option)
- Paper towels
Notes
Storing and Reheating
These nuggets reheat remarkably well, which makes them a great candidate for meal prep. Let them cool completely, then store in an airtight container in the refrigerator for up to 3 days. To reheat, use a 375 degrees F oven or an air fryer for 5 to 7 minutes. They come back crispy and hot, almost like they were just made. The microwave will work in a pinch, but the crust will soften considerably.
For longer storage, freeze fully cooked and cooled nuggets in a single layer on a baking sheet, then transfer to a zip-top freezer bag. They will keep for up to 2 months and can go straight from the freezer into a 400 degrees F oven for about 12 to 15 minutes.