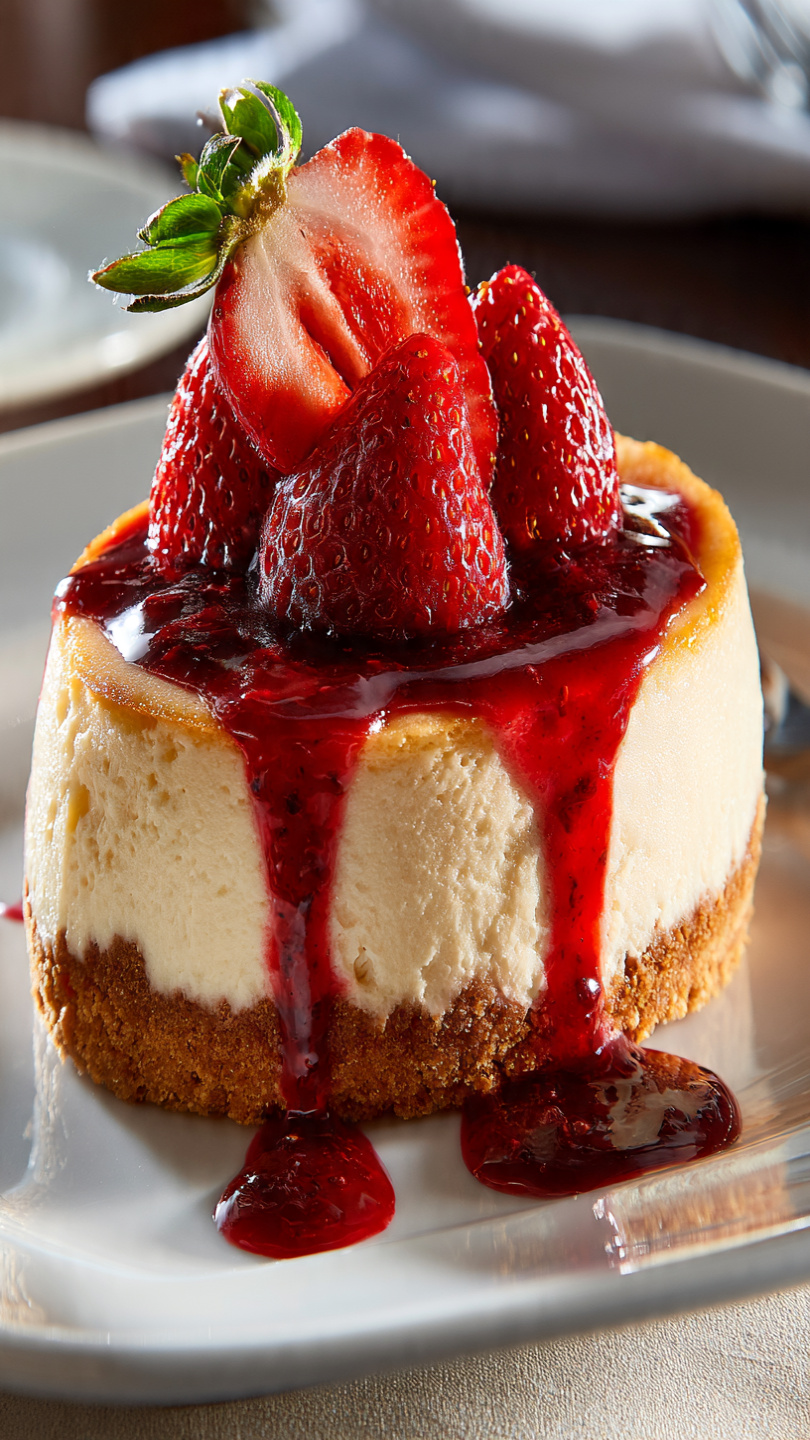
Classic New York Cheesecake
Rich, creamy, and perfectly dense, this Classic New York Cheesecake has a buttery graham cracker crust and a silky smooth filling that bakes up without a single crack.

The Only New York Cheesecake Recipe You Will Ever Need
If you have ever stood in a New York deli staring at a towering slice of cheesecake behind the glass, silently calculating whether it would be weird to order two, this recipe is for you. This is the real thing: dense, impossibly creamy, and rich in all the right ways, with a buttery graham cracker crust that holds together perfectly from the first slice to the last.
No fancy flavors, no fruit swirls, no shortcuts. Just a pure, classic cheesecake that earns its place as the dessert everyone requests.
Why This Recipe Works
New York cheesecake has a reputation for being temperamental, but once you understand a few key principles, it becomes one of the most satisfying bakes in your repertoire.
- Full-fat everything. This is not the place to cut calories. Full-fat cream cheese, sour cream, and heavy cream give the filling its signature silky density.
- Room temperature ingredients. Cold cream cheese will leave lumps no matter how long you mix. Give everything at least two hours on the counter.
- The water bath. It sounds fussy, but it is the single most important step for preventing cracks and achieving that smooth, even texture throughout.
- Low and slow mixing. Once the eggs go in, you mix on the lowest speed possible, just until combined. Overbeating adds air, and air causes the top to puff and collapse.
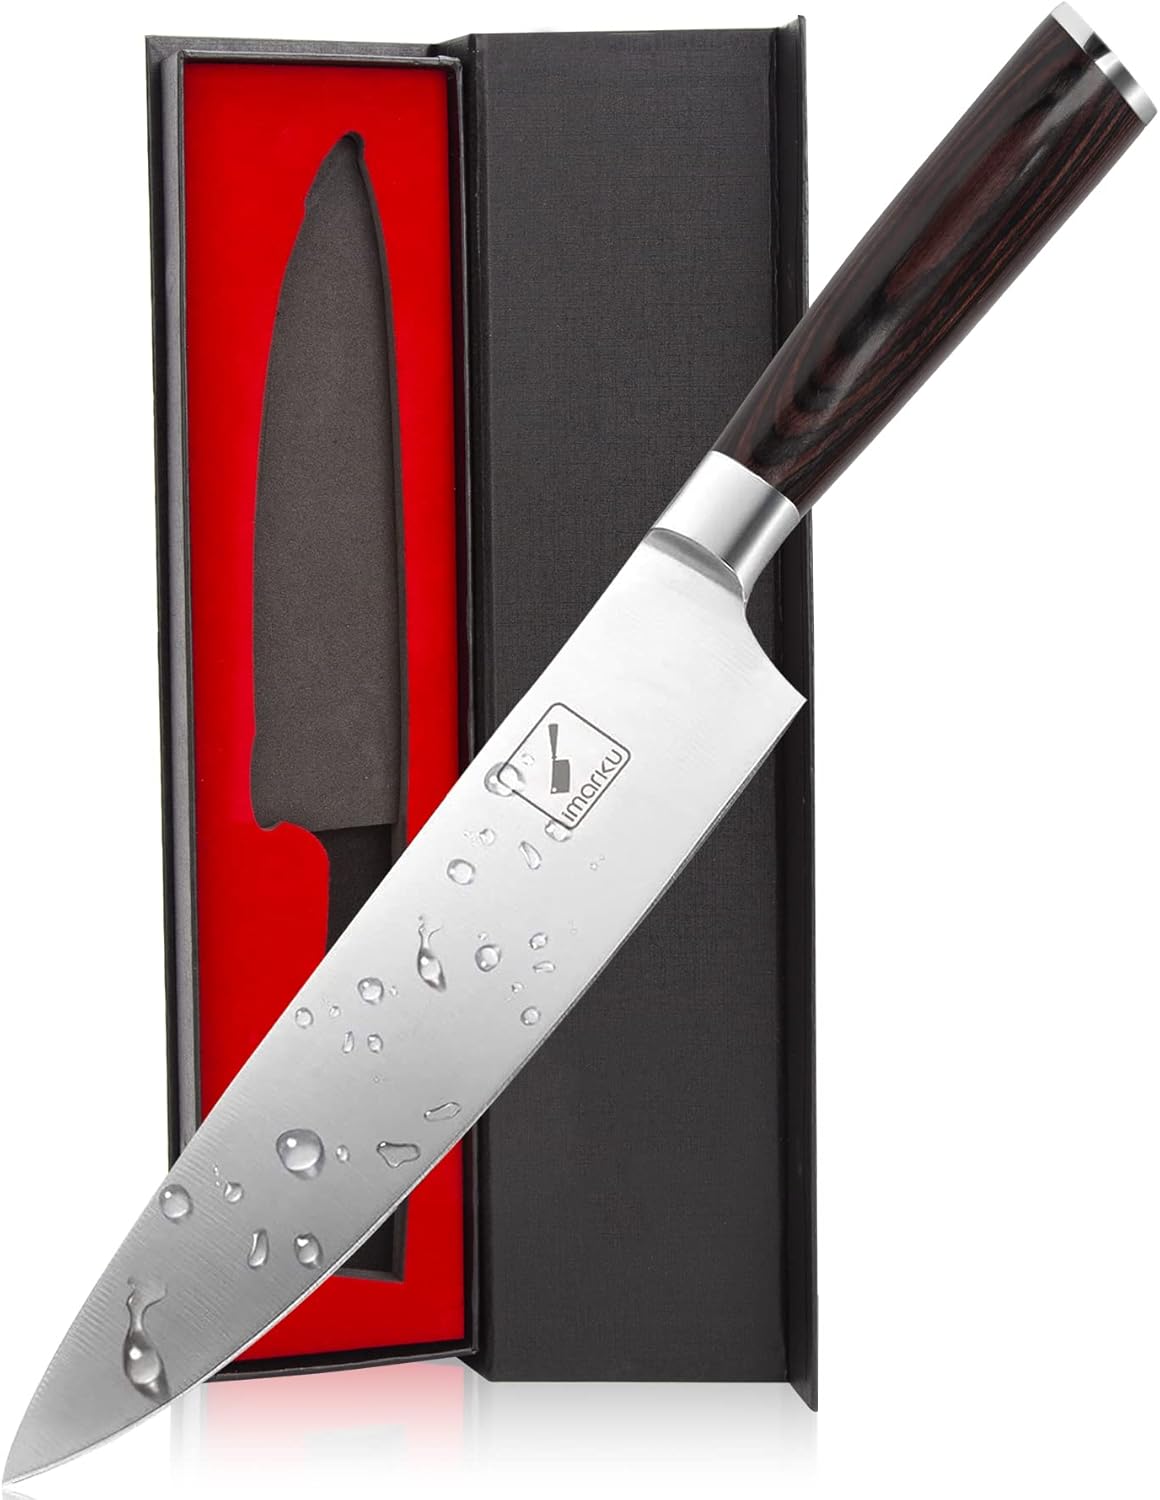
The right tools genuinely make a difference when baking cheesecake. A quality springform pan with tight seals prevents leaking, and a heavy-duty stand mixer gives you the control you need to avoid overworking the batter.
Tools & Ingredients We Recommend


The Water Bath: Do Not Skip It
A water bath, or bain-marie, surrounds the cheesecake with gentle, moist heat as it bakes. This does two things: it keeps the oven environment humid so the surface doesn't dry out and crack, and it ensures the filling bakes evenly from edge to center without the edges overcooking.
To set it up, wrap your springform pan in two tight layers of heavy-duty foil, place it inside a large roasting pan, and pour about an inch of hot water around it before sliding the whole thing into the oven.
Chef's Tip: Use boiling water, not just hot tap water, for the water bath. It brings the temperature up quickly and keeps the bake environment consistent from the start.
How to Know When It Is Done
This is where most bakers go wrong. A fully baked cheesecake should not look fully set when you pull it from the oven. The outer two to three inches should be firm, but the center should have a gentle, slow wobble, almost like a bowl of barely-set gelatin.
It will finish setting as it cools. If you wait until the center looks completely firm in the oven, it is already overdone.
After baking, turn the oven off, crack the door an inch, and let the cheesecake cool inside for a full hour. This slow, gradual cool-down is the other secret to a crack-free top.
Ready to bake the best cheesecake of your life? Here is everything you need:
Classic New York Cheesecake
Rich, creamy, and perfectly dense, this Classic New York Cheesecake has a buttery graham cracker crust and a silky smooth filling that bakes up without a single crack.
Ingredients
- 1 1/2 cups graham cracker crumbs, from about 10 full sheets
- 3 tbsp granulated sugar, for the crust
- 6 tbsp unsalted butter, melted
- 32 oz full-fat cream cheese, four 8 oz blocks, fully softened to room temperature
- 1 cup granulated sugar, for the filling
- 1 cup sour cream, full-fat, room temperature
- 1/4 cup heavy whipping cream, room temperature
- 4 large eggs, room temperature
- 2 tsp pure vanilla extract
- 1 tbsp lemon juice, freshly squeezed
- 2 tbsp all-purpose flour, helps stabilize the filling
Instruction
Preheat your oven to 325 degrees F (163 degrees C). Wrap the outside of a 9-inch springform pan tightly with two layers of heavy-duty aluminum foil to prevent any water from seeping in during the water bath.
Make the crust: Stir together the graham cracker crumbs, 3 tablespoons of sugar, and melted butter until the mixture resembles wet sand. Press it firmly and evenly into the bottom of the prepared springform pan. Bake for 10 minutes, then set aside to cool.
In a large bowl using a hand mixer or a stand mixer fitted with the paddle attachment, beat the softened cream cheese on medium-low speed for about 2 minutes until completely smooth and lump-free. Scrape down the sides of the bowl frequently.
Add the sugar and beat on medium speed for another 2 minutes. Add the flour, sour cream, heavy cream, vanilla extract, and lemon juice. Mix on low speed until just combined.
Add the eggs one at a time, mixing on the lowest speed after each addition just until the yolk disappears into the batter. Do not overmix once the eggs are added, as this incorporates too much air and causes cracking.
Pour the filling over the cooled crust and smooth the top with a spatula. Place the foil-wrapped springform pan inside a large roasting pan. Fill the roasting pan with about 1 inch of hot water to create a water bath.
Bake for 55 to 70 minutes, until the edges are set but the center 2 to 3 inches still wobble gently like Jell-O when you nudge the pan. The top should look matte, not shiny.
Turn off the oven and crack the door open about 1 inch. Let the cheesecake cool inside the oven for 1 hour. This gradual temperature change prevents the top from cracking.
Remove from the oven and water bath. Run a thin knife around the edge of the pan to loosen the cheesecake. Let it cool completely on a wire rack at room temperature, then refrigerate uncovered for at least 6 hours, and ideally overnight.
When ready to serve, remove the springform ring, slice with a sharp knife wiped clean between cuts, and top as desired.
Equipment
- 9-inch springform pan
- Stand mixer or hand mixer
- Large roasting pan (for water bath)
- Heavy-duty aluminum foil
- Large mixing bowl
- Rubber spatula
- Thin offset spatula or knife
- Wire cooling rack
Notes
Topping Ideas and How to Serve It
This cheesecake is stunning on its own, but it also plays beautifully with toppings. A few favorites:
- Fresh strawberries or mixed berries with a light dusting of powdered sugar
- Classic sour cream topping: stir together 1 cup sour cream with 2 tablespoons sugar and a splash of vanilla, spread over the cooled cheesecake
- Salted caramel drizzle for a sweet and salty contrast
- Lemon curd for a bright, citrusy finish
For the cleanest slices, run a sharp knife under hot water, wipe it dry, and cut. Repeat between every single slice. It takes an extra 30 seconds and makes a noticeable difference in presentation.
However you serve it, make sure it comes straight from the refrigerator. Cold cheesecake slices cleanly, holds its shape on the plate, and tastes exactly the way it should.