Classic Caramel Apples
These homemade Classic Caramel Apples are coated in a rich, buttery caramel that sets to a perfect chewy shell. A nostalgic fall treat that is easier to make than you think!

The Caramel Apple of Your Childhood Dreams, Only Better
There is something almost magical about a caramel apple. The moment that glossy amber shell cracks under your teeth and gives way to the tart, crisp fruit underneath, you are transported straight back to autumn fairs, harvest festivals, and the particular joy of eating something on a stick. These Classic Caramel Apples are that feeling, but elevated with a proper homemade caramel that is richer, chewier, and more deeply flavored than anything you have ever bought from a booth.
The best part? You do not need to be a pastry chef. You need patience, a candy thermometer, and a willingness to trust the process.
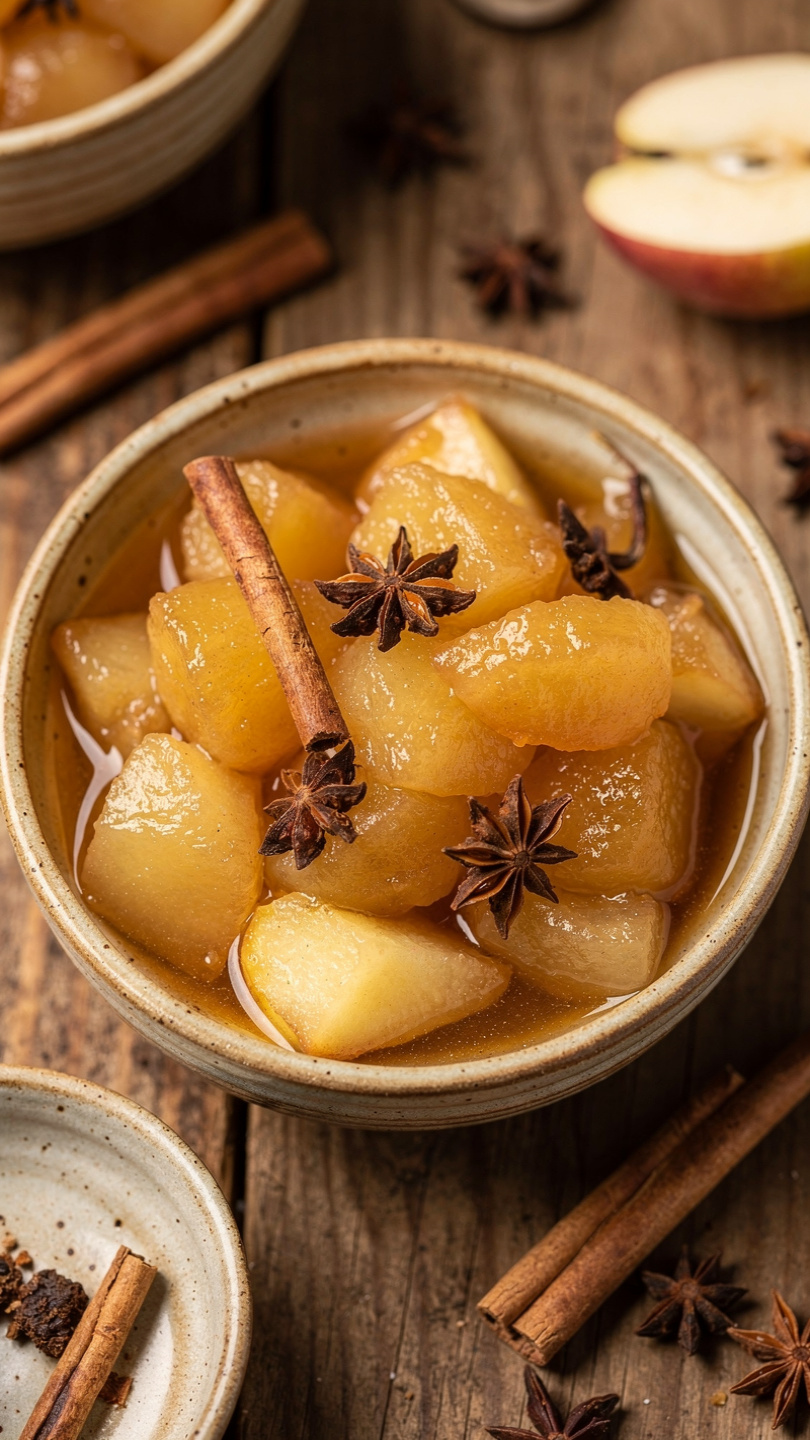
Why Granny Smith Apples Are the Right Choice
It is tempting to reach for a sweeter variety, but Granny Smith apples are the gold standard for caramel apples for good reason. Their firm flesh holds up beautifully under the weight of the coating, and their natural tartness cuts right through the richness of the caramel. That contrast is the whole point. A sweet apple wrapped in sweet caramel just tastes like sugar on sugar.
That said, Honeycrisp or Fuji apples work if you prefer something milder. Just make sure whichever apple you choose is firm, cold, and completely dry before dipping.
Chef's Tip: Most grocery store apples have a thin wax coating that prevents caramel from sticking. Scrub them with warm water and a splash of apple cider vinegar, rinse well, and dry thoroughly. This step alone will save you from a caramel puddle on your parchment.
The Secret Is the Thermometer
Homemade caramel gets a reputation for being finicky, but the real secret is simple: use a candy thermometer and trust your temperatures. Guessing will get you candy that is either too soft and slides off, or too hard and pulls out a filling. A reliable thermometer removes all the mystery.
The right tools and a good quality heavy-bottomed saucepan make a genuine difference when cooking sugar to high temperatures. Thin pans create hot spots that scorch your caramel before it finishes cooking.
Tools & Ingredients We Recommend

You are looking for two temperature milestones. First, cook your sugar syrup to 300 degrees F (the hard crack stage) before adding your cream and butter. Then, bring the finished caramel back up to 245 degrees F (firm ball stage) for that perfect chewy set. Do not skip either step.
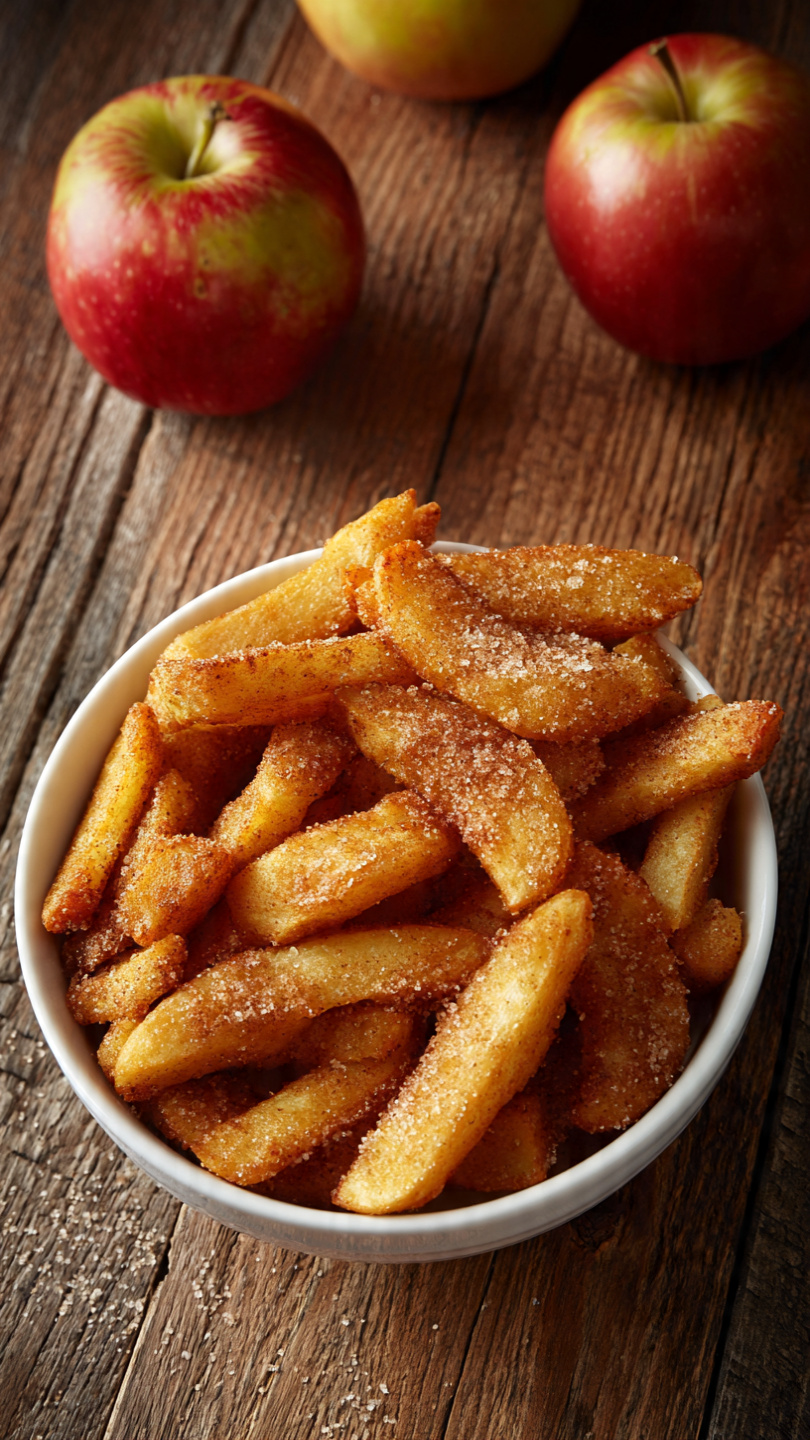
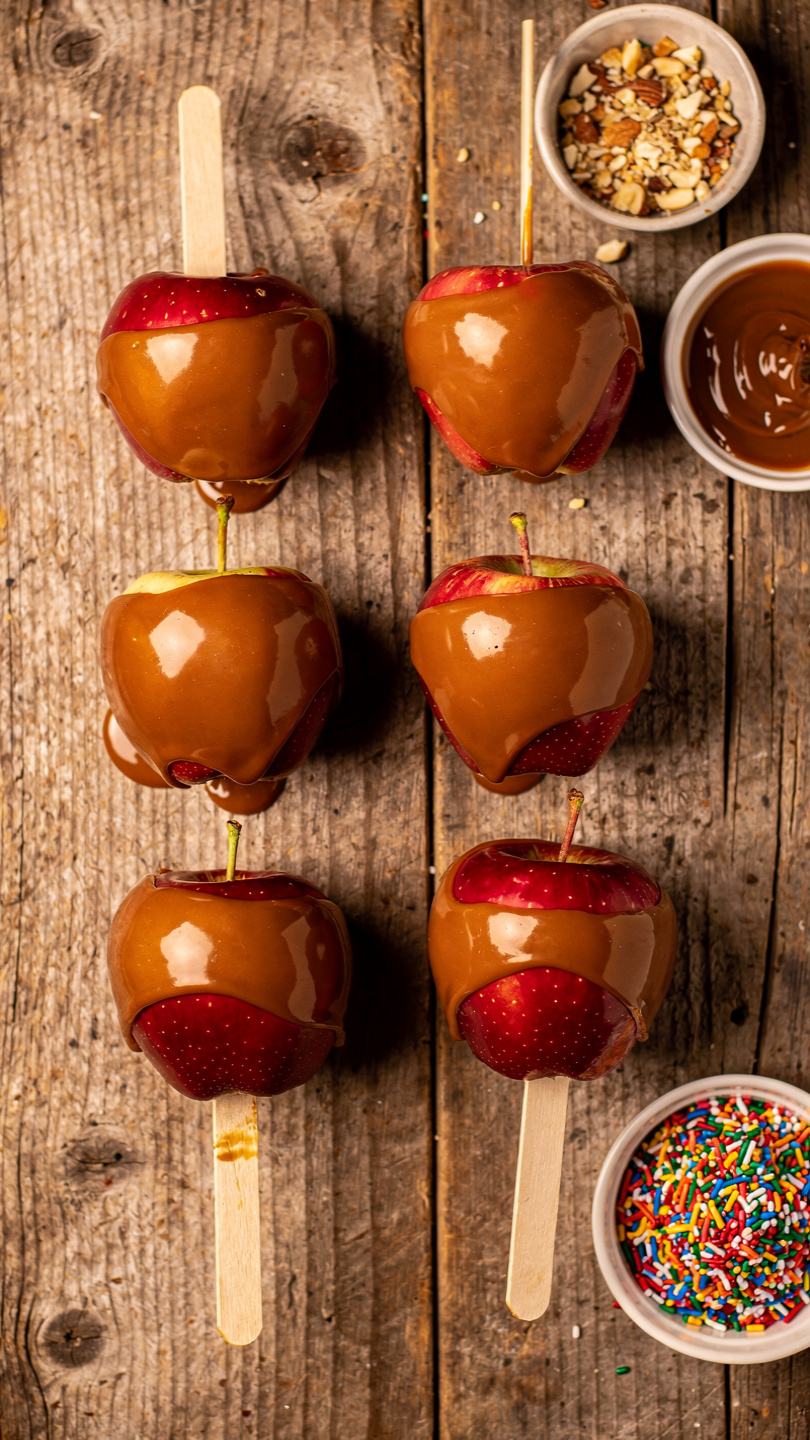
Toppings, Variations, and Ways to Make It Your Own
Once your apples are dipped, you have about a 30-second window to add toppings before the caramel sets. Here are a few favorites:
- Crushed toasted pecans or walnuts for a classic nutty crunch
- Flaky sea salt sprinkled lightly on top for a salted caramel vibe
- Mini chocolate chips or drizzled melted chocolate for a candy shop feel
- Crushed graham crackers and mini marshmallows for a s'mores twist
- Rainbow sprinkles because sometimes fun is the whole point
Warning: Do not attempt to refrigerate finished caramel apples. The cold causes condensation, which makes the caramel sticky, weepy, and unpleasant. Room temperature storage, loosely wrapped, is the move.
Ready to make a batch? Here is everything you need laid out clearly:
Classic Caramel Apples
These homemade Classic Caramel Apples are coated in a rich, buttery caramel that sets to a perfect chewy shell. A nostalgic fall treat that is easier to make than you think!
Ingredients
- 6 Granny Smith apples, washed, dried thoroughly, and chilled
- 2 cups granulated sugar
- 1/2 cup heavy cream, room temperature
- 4 tbsp unsalted butter, cut into cubes
- 1/4 cup light corn syrup
- 1/2 tsp kosher salt
- 1 tsp vanilla extract, pure, not imitation
- 6 wooden craft sticks or lollipop sticks, inserted firmly into stem end of each apple
Instruction
Line a large baking sheet with parchment paper and lightly grease it with nonstick spray. Set it near your stovetop.
Remove the stem from each apple and firmly insert a wooden craft stick into the top center. Place apples in the refrigerator while you make the caramel.
In a medium heavy-bottomed saucepan, combine the sugar, corn syrup, and 0.25 cup (60 ml) of water over medium heat. Stir only until the sugar dissolves, then stop stirring completely.
Clip a candy thermometer to the side of the pan. Bring the mixture to a boil and cook, without stirring, until it reaches 300 degrees F (149 degrees C), the hard crack stage. This takes about 10 to 12 minutes.
Remove the pan from heat and immediately and carefully stir in the butter, heavy cream, salt, and vanilla. The mixture will bubble vigorously. Stir until smooth.
Return the pan to low heat and stir gently until the caramel reaches 245 degrees F (118 degrees C), the firm ball stage. Remove from heat and let it cool for 3 to 5 minutes until slightly thickened.
Working quickly, tilt the pan at an angle and dip each chilled apple into the caramel, swirling to coat evenly. Let the excess drip off, then gently scrape the bottom of the apple against the pan edge.
Place each coated apple onto the prepared parchment sheet. If adding toppings like crushed nuts or sprinkles, apply them immediately before the caramel sets.
Allow the apples to cool and set completely at room temperature for at least 30 minutes before serving.
Equipment
- Heavy-bottomed medium saucepan
- Candy thermometer
- Wooden craft sticks or lollipop sticks
- Parchment-lined baking sheet
- Heat-resistant silicone spatula
- Pastry brush (optional, for washing down sugar crystals)
Notes
Serving and Storing Your Caramel Apples
Caramel apples are genuinely best the same day they are made. The caramel is at peak texture, the apple is crisp, and the whole thing is just right. If you need to make them ahead, the evening before is your limit. Store them at room temperature on a parchment-lined tray, loosely covered.
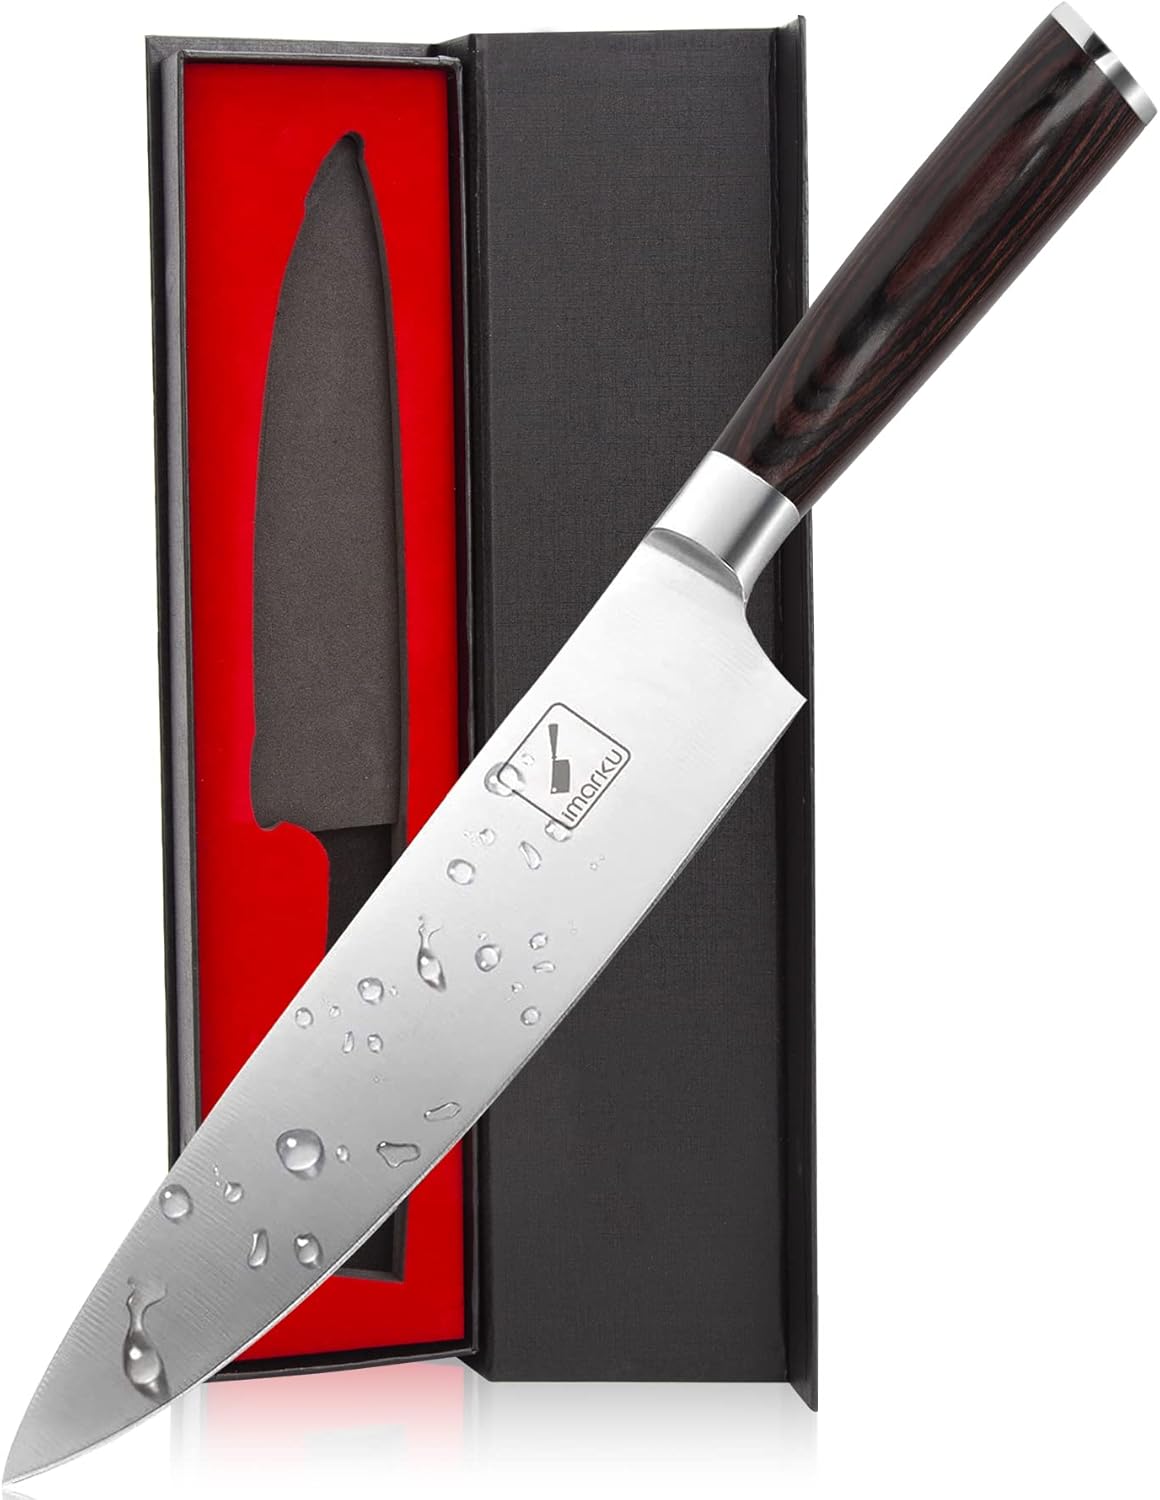
For serving at a party, slice them into wedges with a sharp knife and arrange them on a platter. It makes them far easier to eat and shows off that gorgeous caramel shell. Guests will reach for them without hesitation.